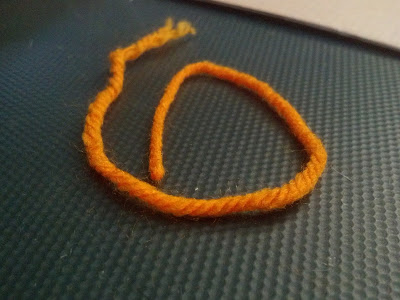
First step is to get some yarn. I bought this at a thrift store for 1.50$ and have more orange yarn than I could use in a life time. I recommend cutting some from a friend/wife/mother's stash. Or do as I do when you need things and don't want to spend money post a message on Facebook asking if anyone wants to get rid of some things.
Next step is to cut a manageable piece of yarn. Using more than a foot or two at a time will get a little unwieldy.
Yarn is just a series of twisted fibers and easy to to unwind. Separate the 3-5 different twisted strands.
You should end up with 3-5 bundles of small fibers.
Next step is to collect the strings and cut them as short as you can. You should end up with a bunch of little 1/8 tufts of fibers. I left one of the strings I pulled apart to the side so I can just use it as yarn and tie with it later.
Next put all the little tufts together and begin to pull them apart from each other. There should be some tension as you fluff and separate the fibers. You want to continue this until all the little tufts are gone and you end up with a little fluff pile.
All fluffed up and ready to dubb.
Here is the stimulator I tied with my DIY dub.
So you might be saying dubbing is cheap?!? Only 3$ a tiny little pack?!?! Ya well this was cheaper/free and it works quite well. A lot of people use a coffee grinder to speed up this process but, again that costs money and/or pisses off the wife.
Dryer lint is also a good dubbing material that is ready to go right out off the lint trap. A word of advise here is to use a garment that you just bought. I have three dogs which means every time I wash anything the lint trap is full of hair. A new sweatshirt or fleece jacket with help minimize the hair and you will get WAY more fuzz as well as, allowing you to be picky about the color you end up with.


No comments:
Post a Comment